Create your first project
Now that you’ve installed Lightning Pose and understood the core concepts, you’re ready to create your first project.
Run the app
From a command line, activate your conda environment and run:
$ litpose run_app
You should see output saying that the server is running on port 8080. This is a TCP/IP
port accessible from your web browser. If you’re running this locally, navigate to
http://localhost:8080. Otherwise, replace localhost with the IP address
of the machine where you ran the app, or, use the port forwarding features
of your cloud environment to access the port remotely.
Note
In Lightning Studio, a cloud provider we frequently recommend, this is done using the Port plugin icon on the right hand side. See the video in their docs for the process.
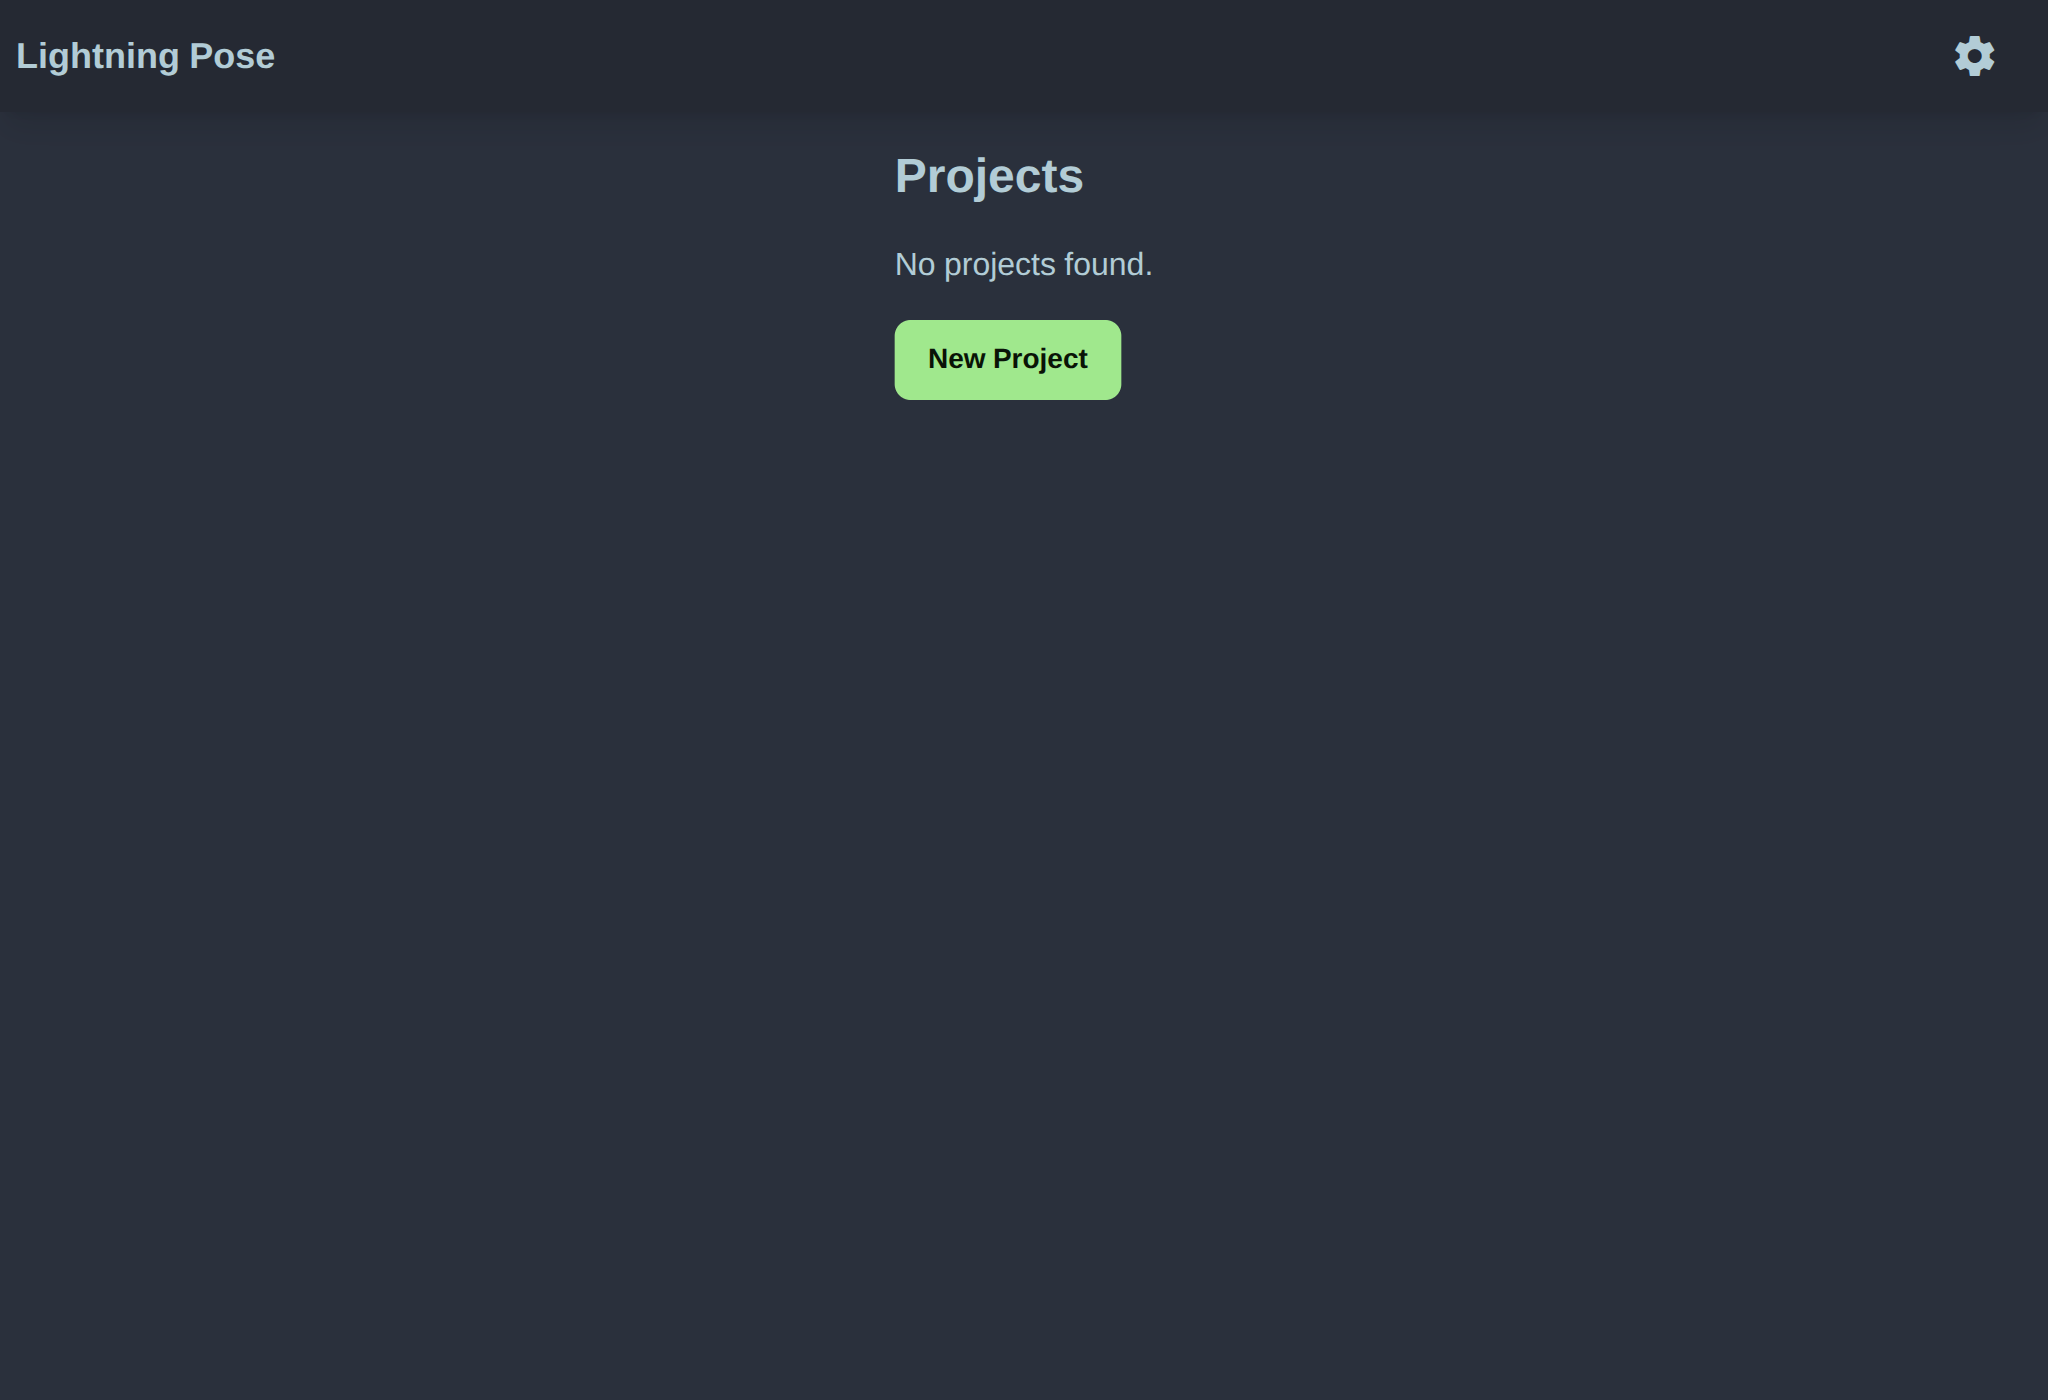
Once the app is open in the browser, it should look like this. Click on New Project and begin to fill out the form.
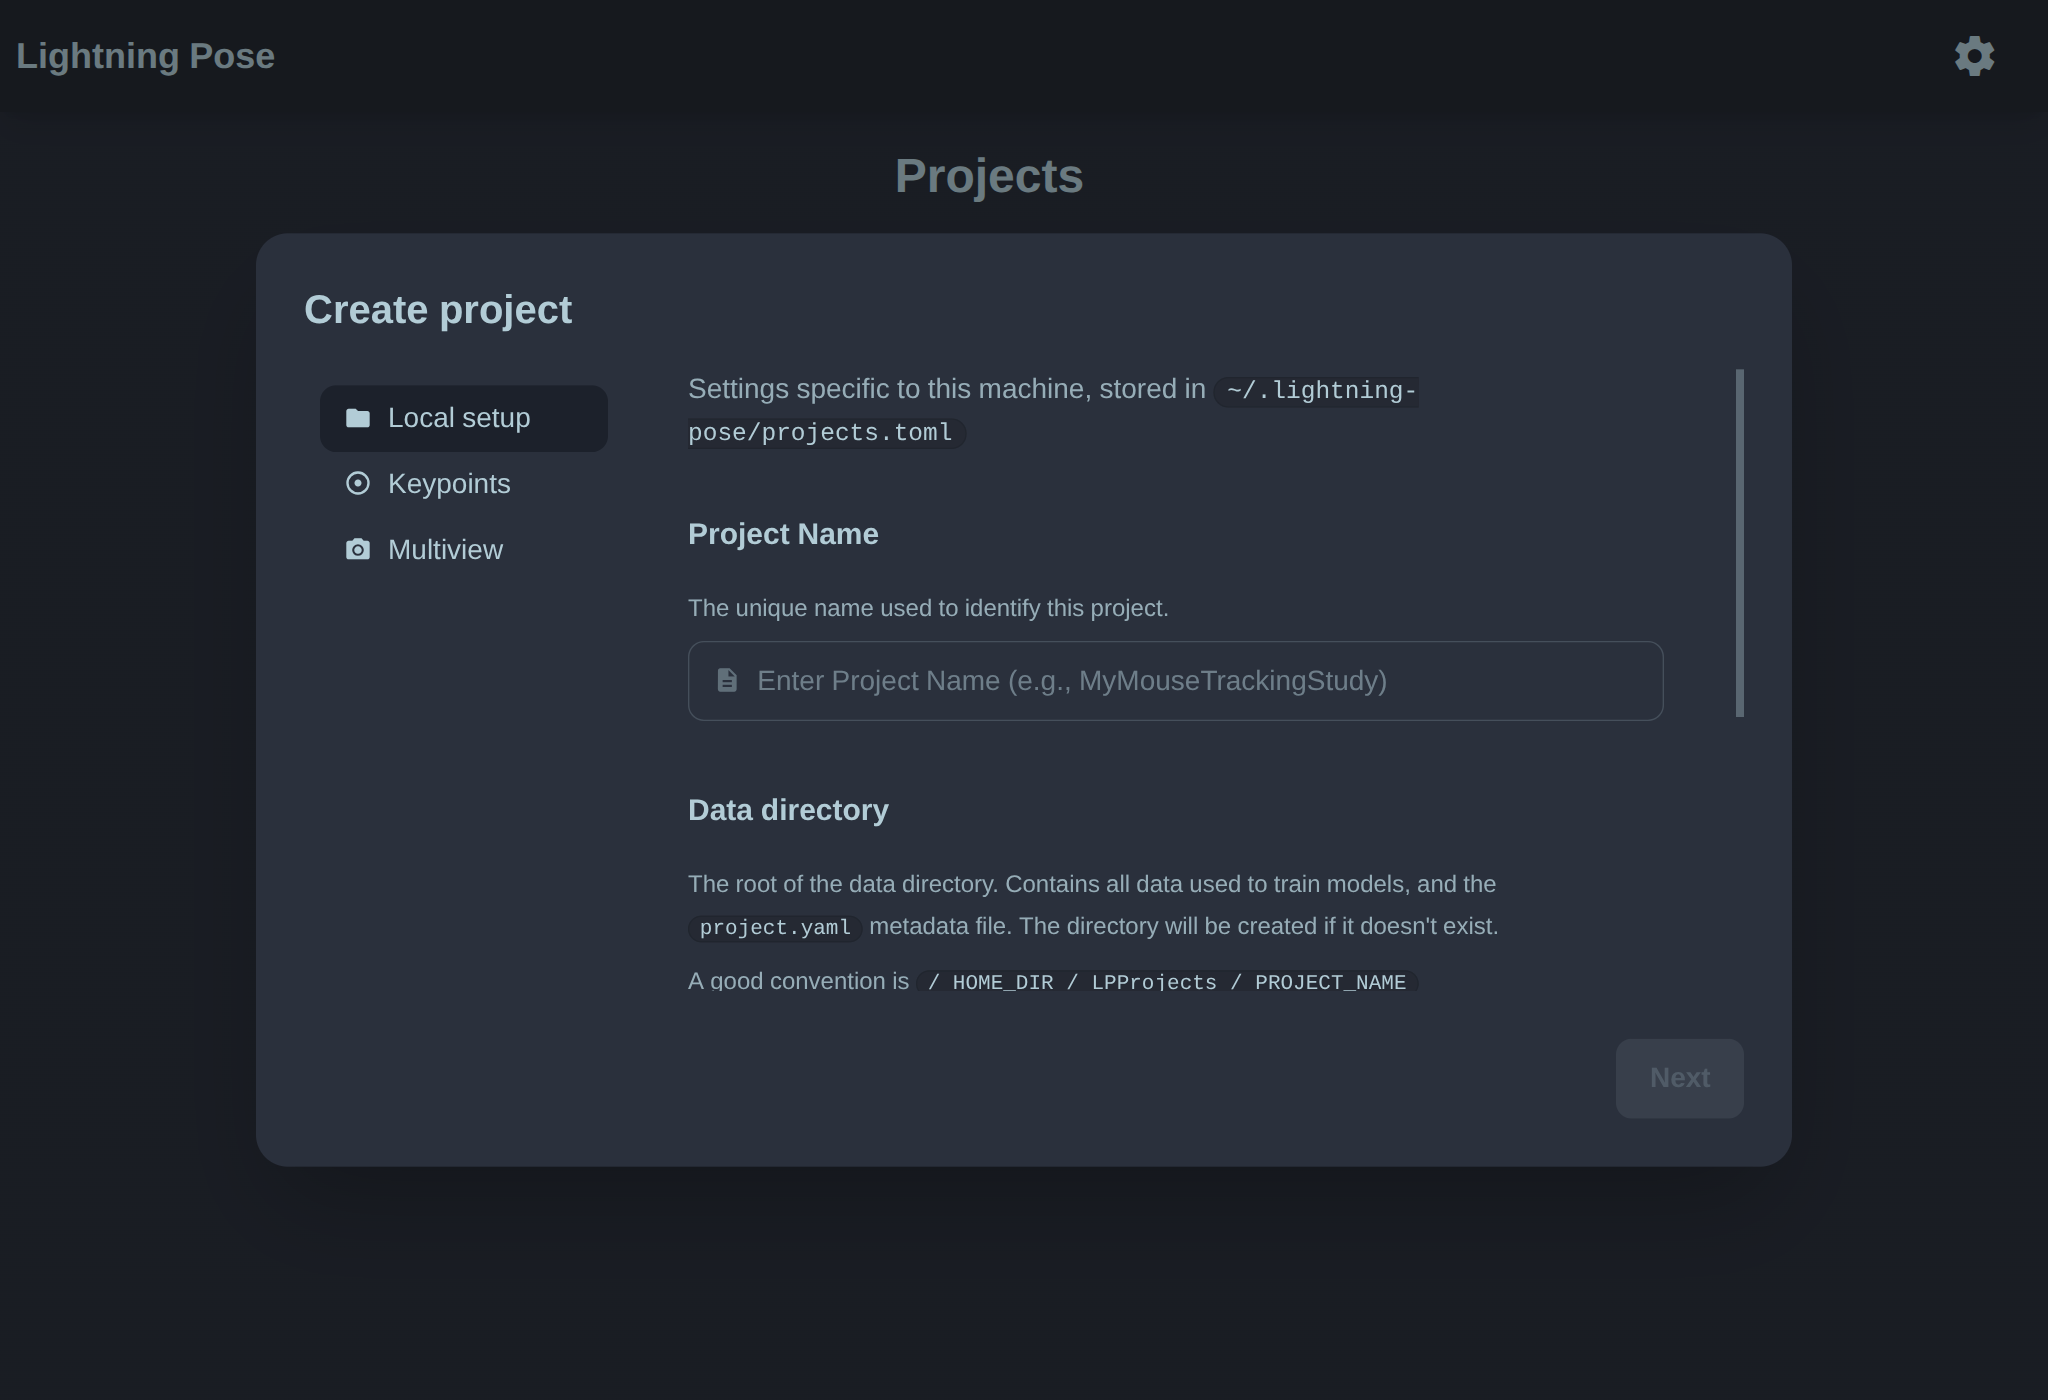
Important: Specifying Data directory
Our recommendation is HOME_DIR/LPProjects/YourProjectNameHere
where HOME_DIR is your home directory path. You can get the home directory path
for your machine by running echo ~ in a terminal.
Leave Model directory as the default.
Keypoints and View names
First name your keypoints, the points you’d like to track. The names will be used as column headers in label files and prediction output files.
Views are the names of your camera views. If you have only one view, you can leave this blank. For multiple views, your video files must end in _viewname as the suffix. This convention is relied upon for Lightning Pose to extract the View name and Session name from a video’s filename.
That’s it! Hit save and your project will be created. You will be redirected to the project home page.
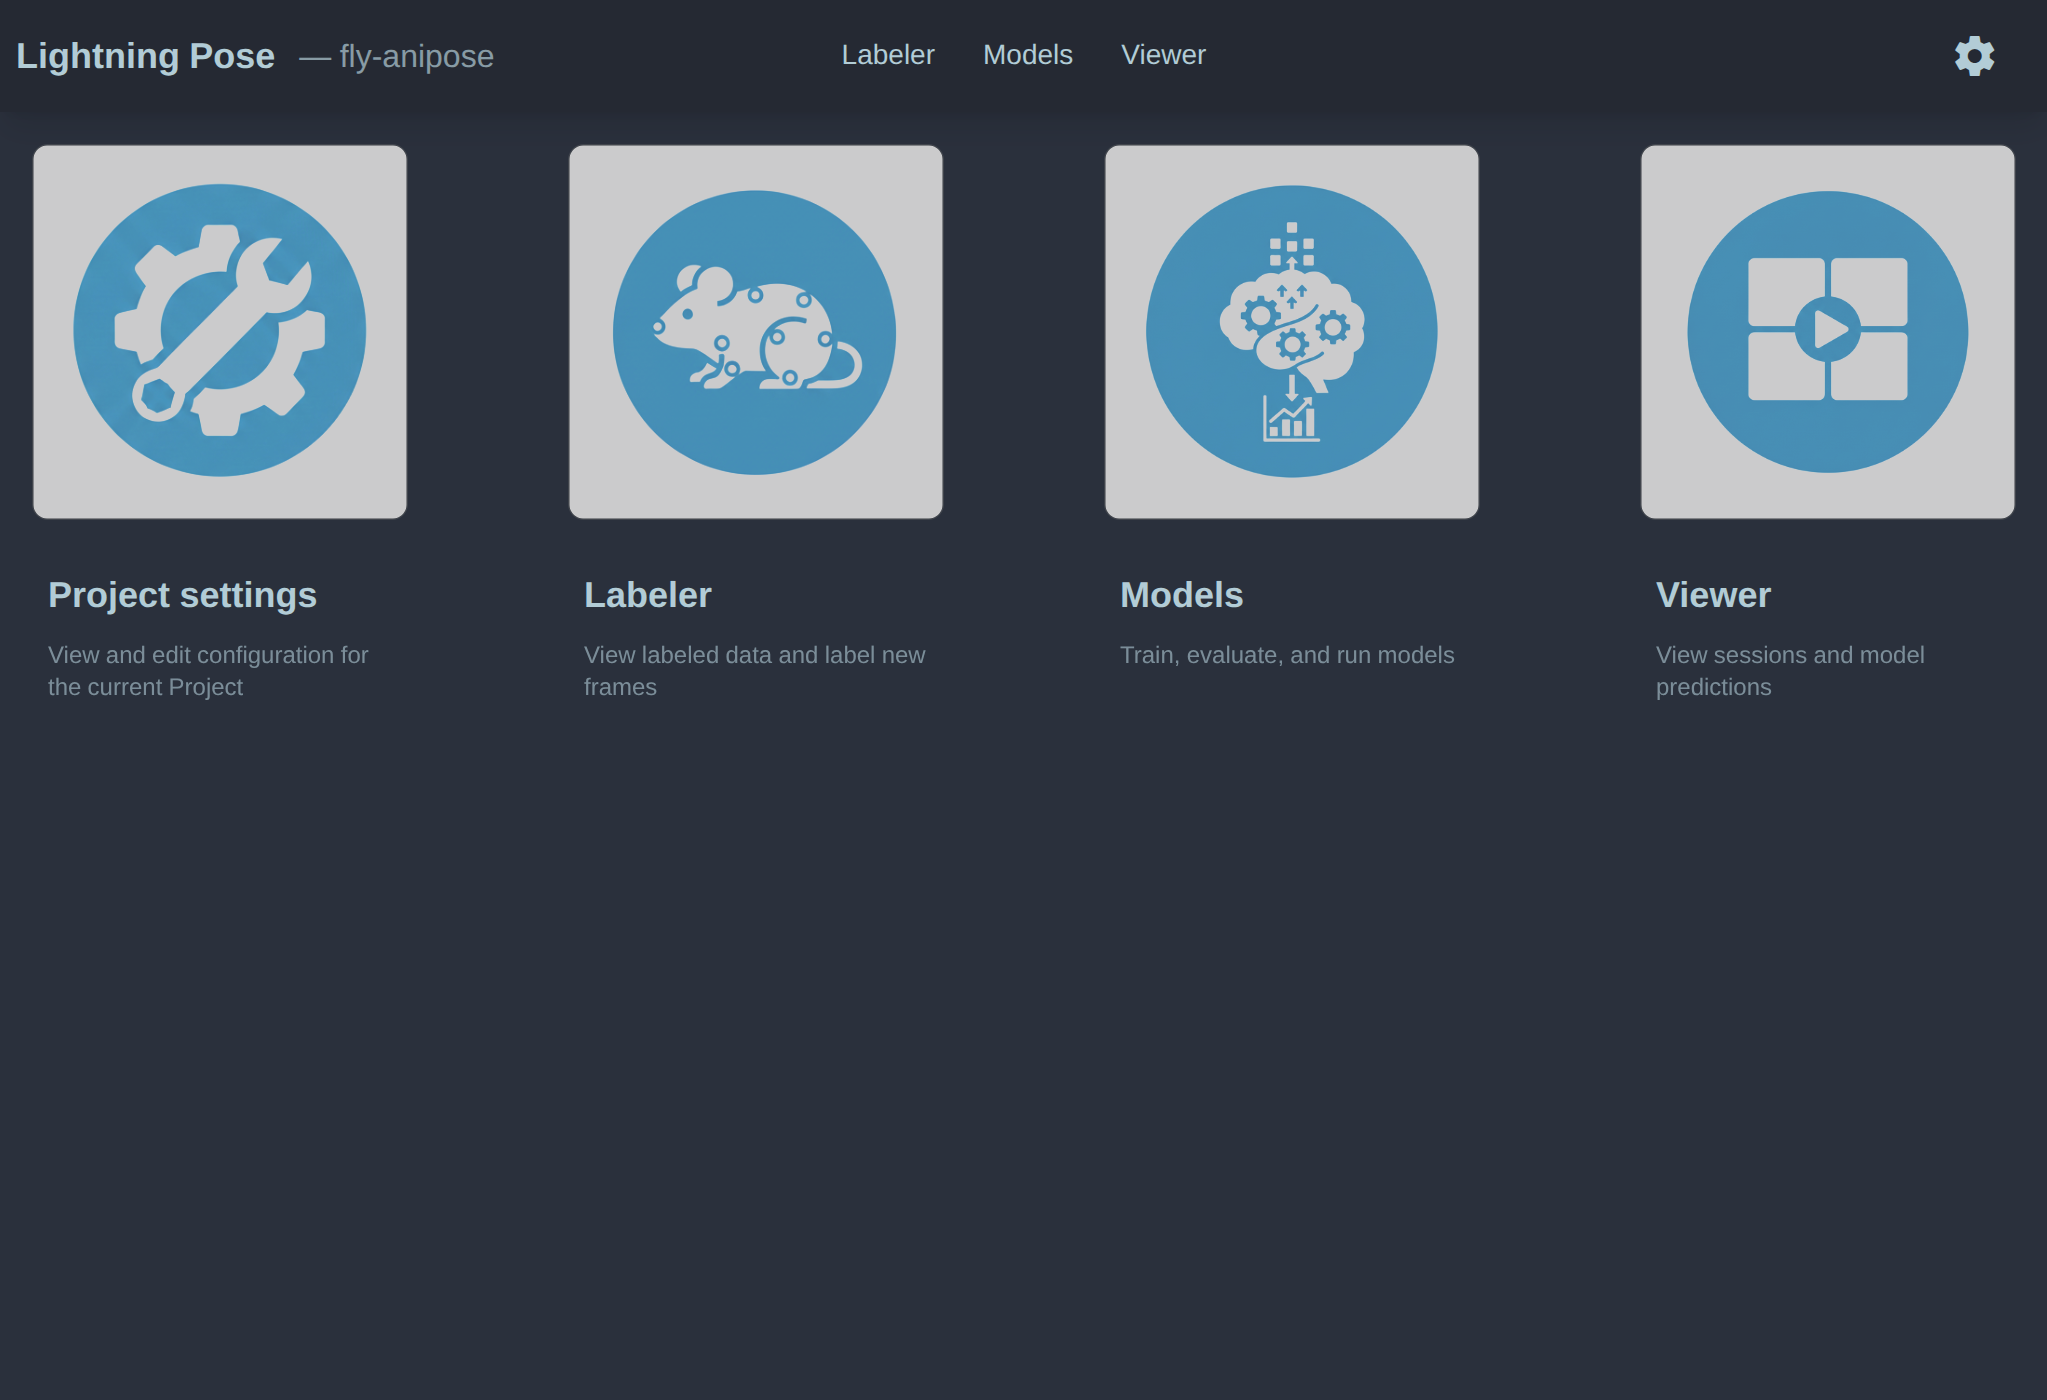
Label data
This tutorial assumes you do not yet have labeled data. Otherwise, see Importing labeled data.
Labeling occurs in the Labeler module.
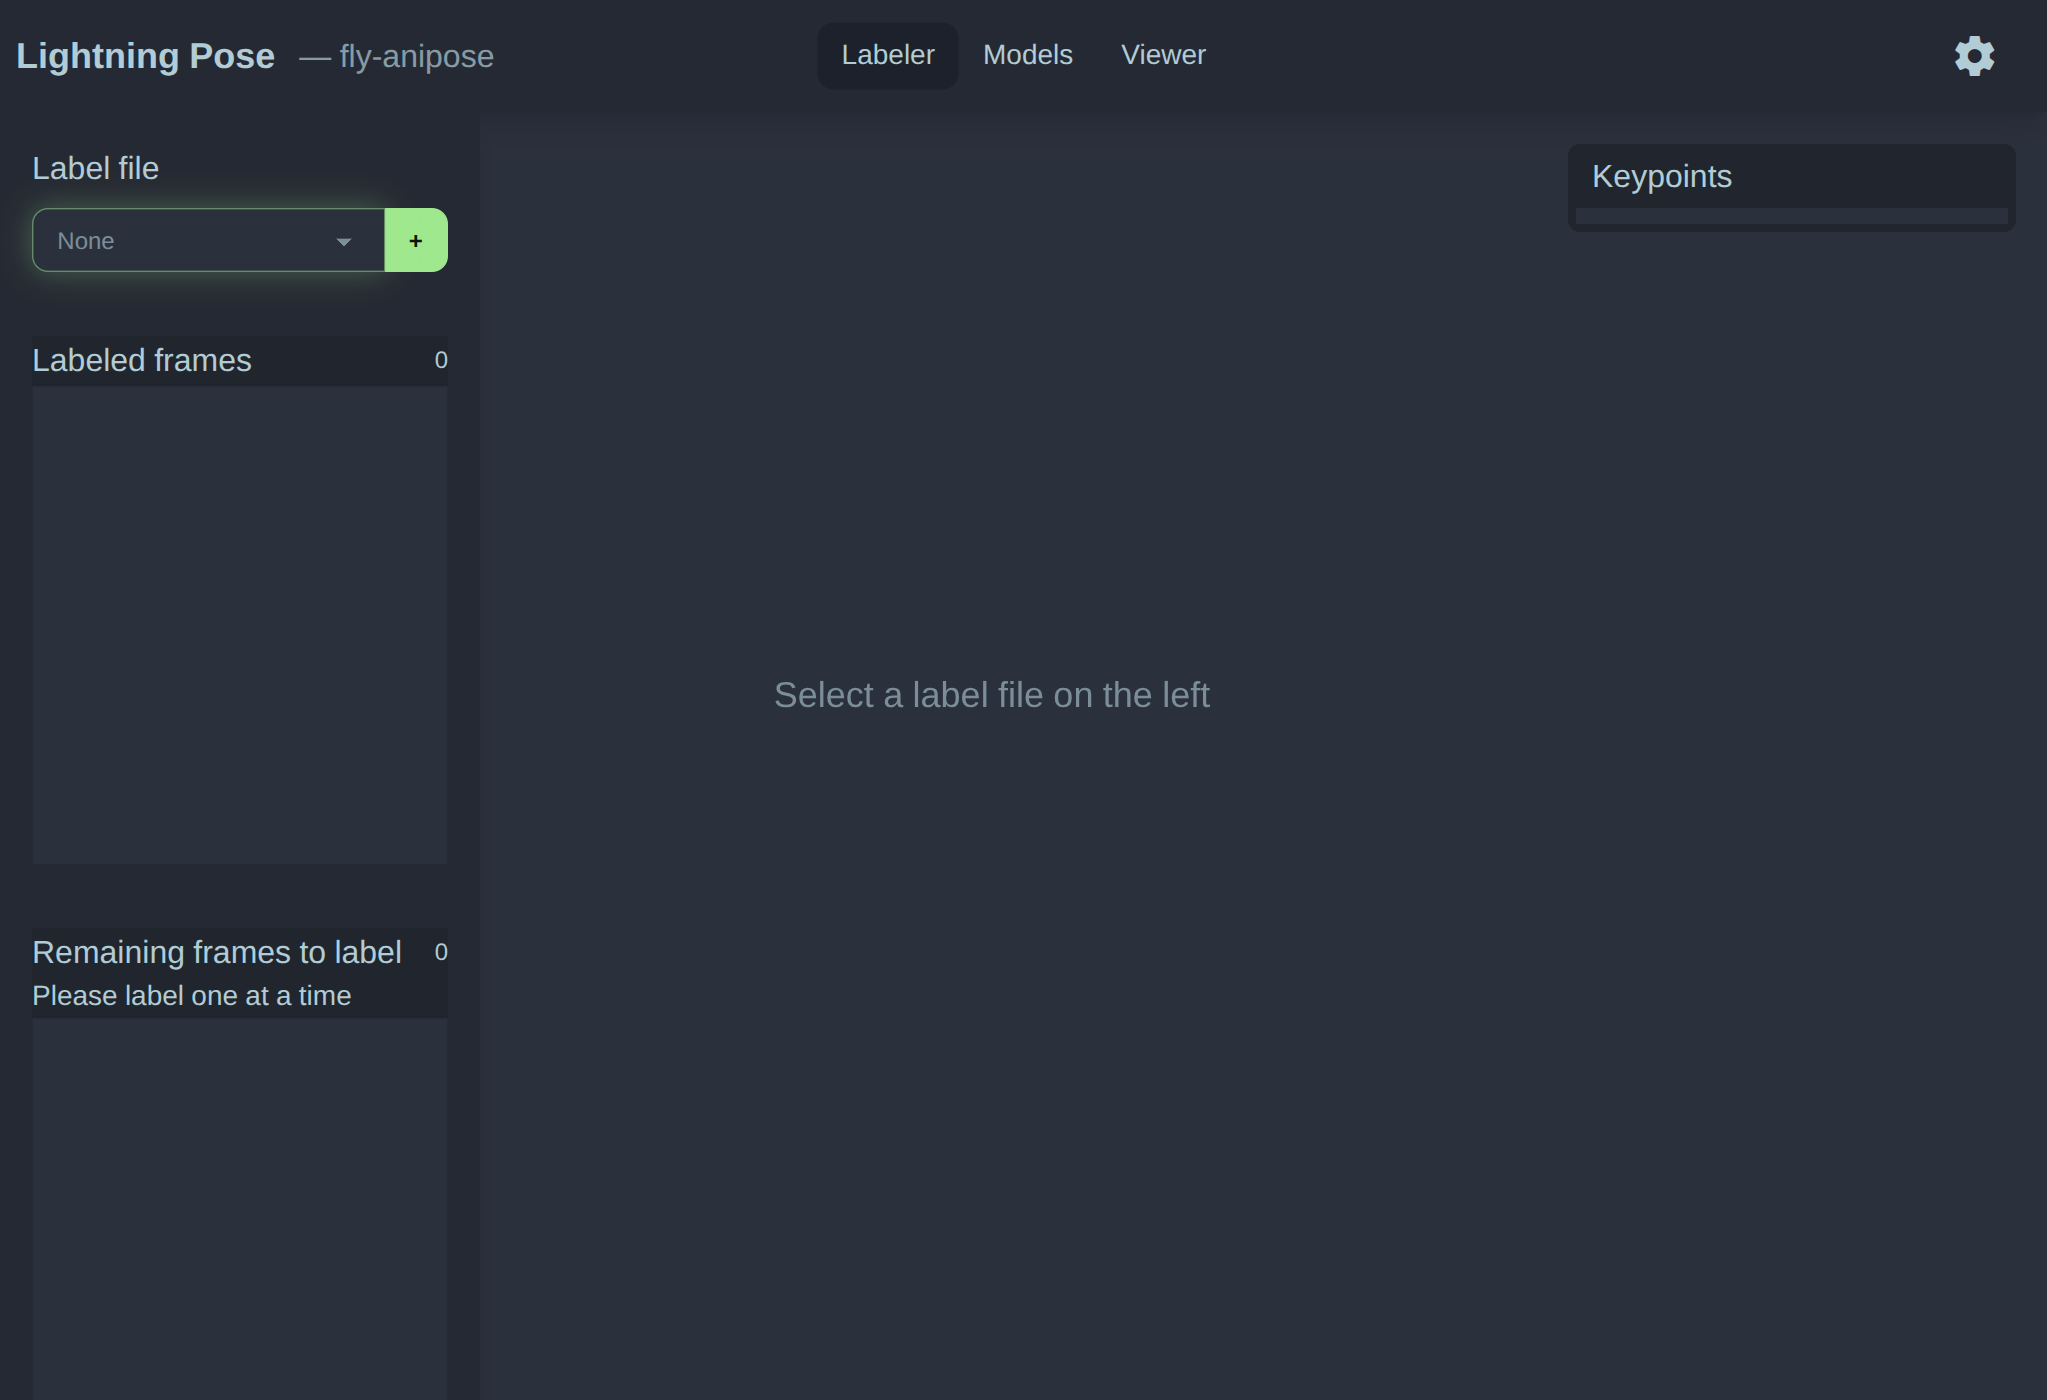
Create a label file and extract frames
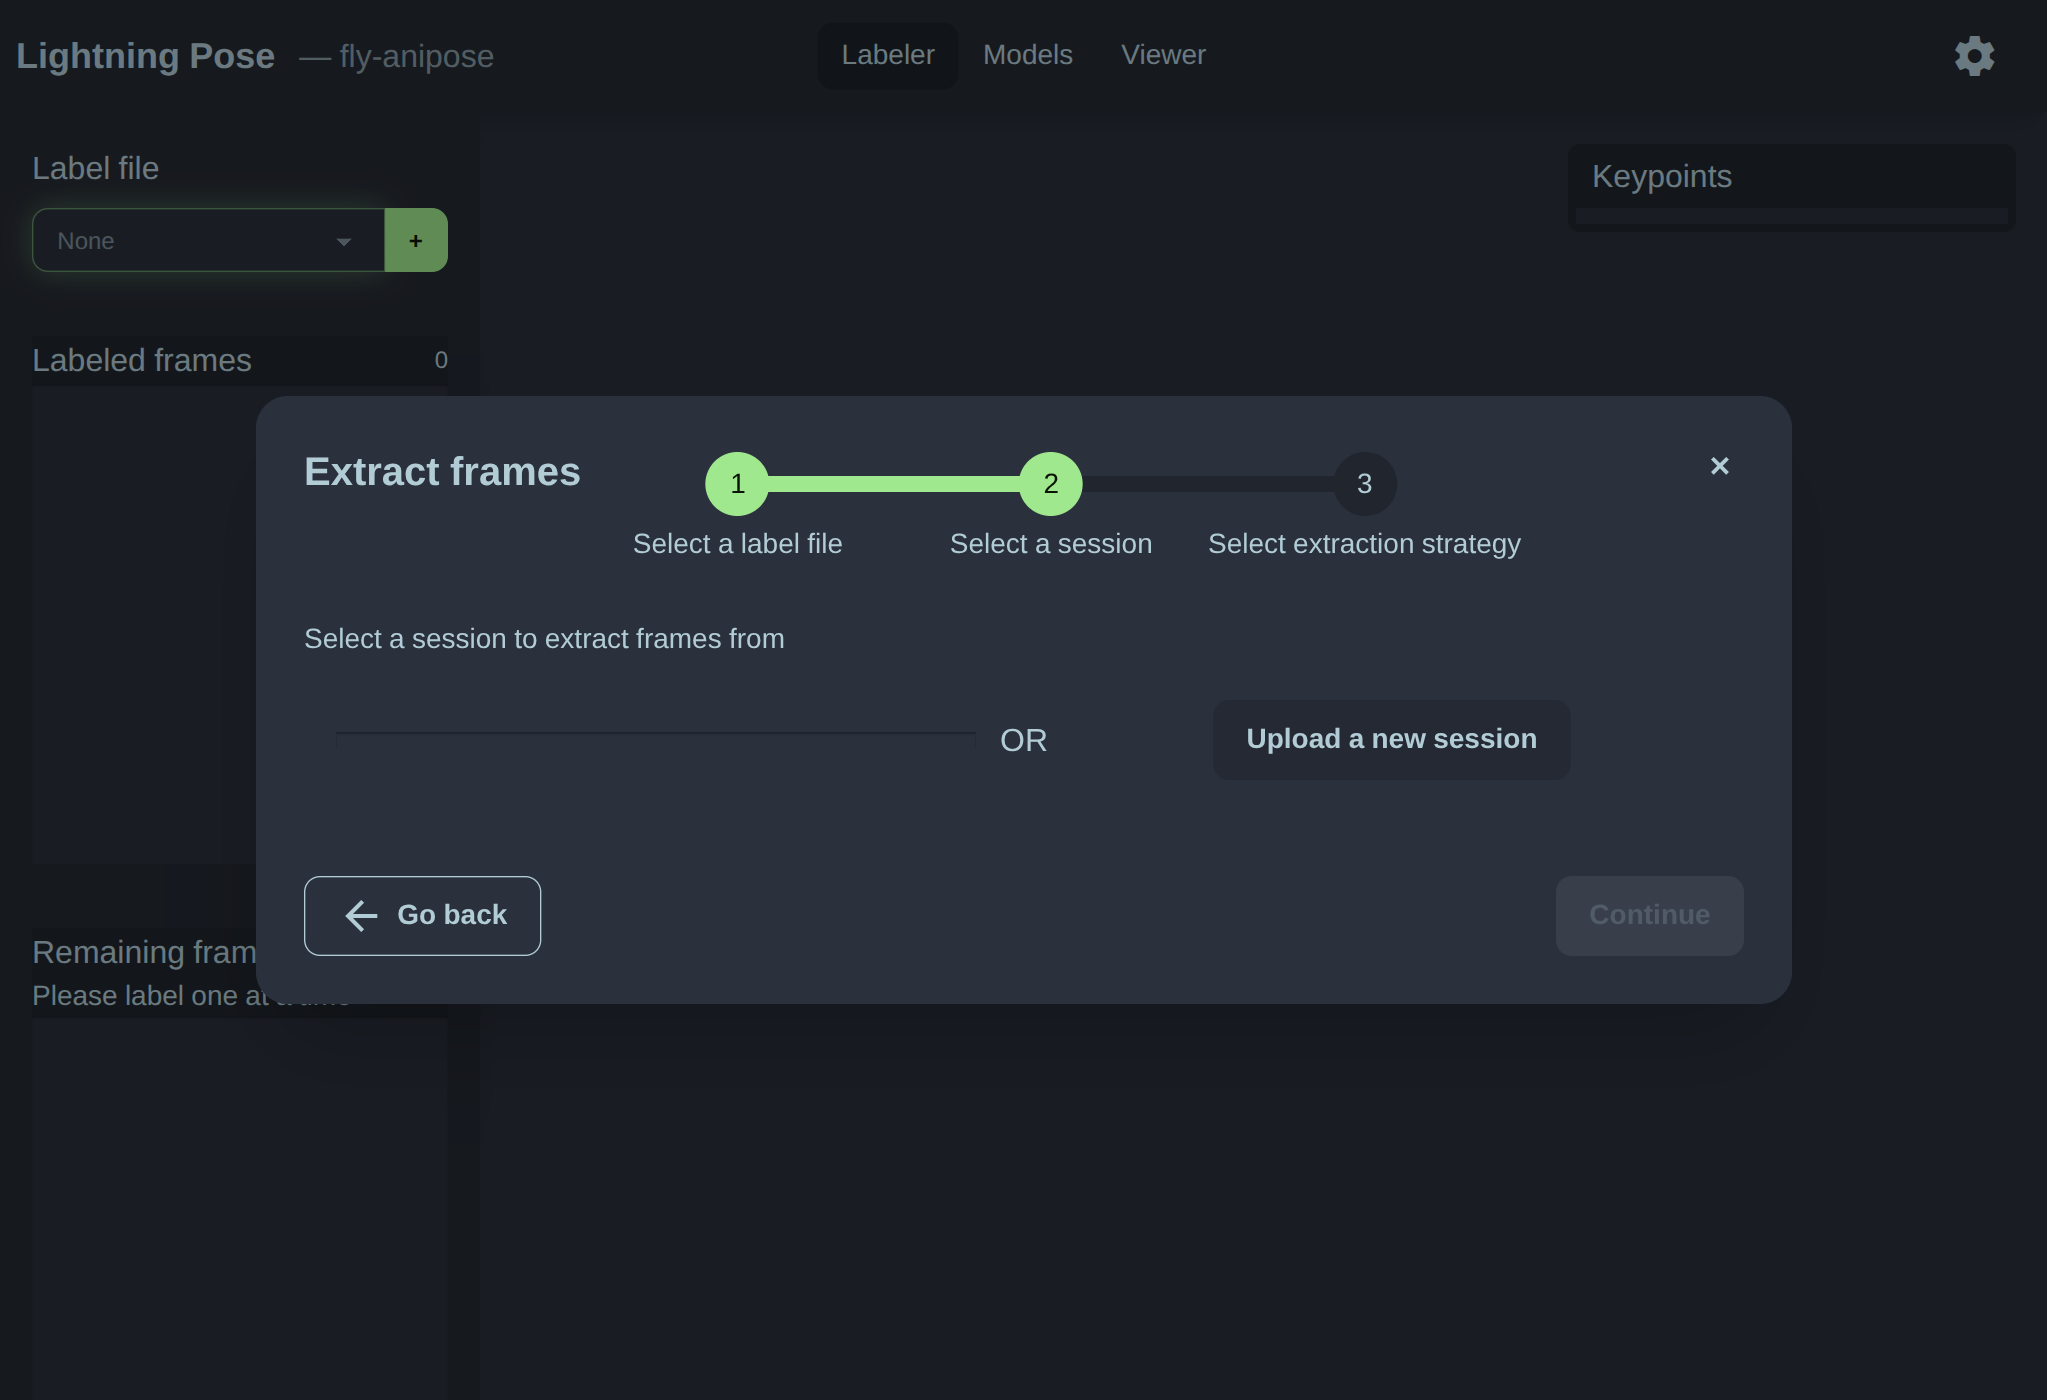
Start by creating a Label file left side green button. This opens the “extract frames” workflow: - name your label file (leave it as the default) - upload a session for frame extraction - specify frame extraction settings

Leave the default name and click next. You will see the session selection screen. On the right, click Upload Session.
Note
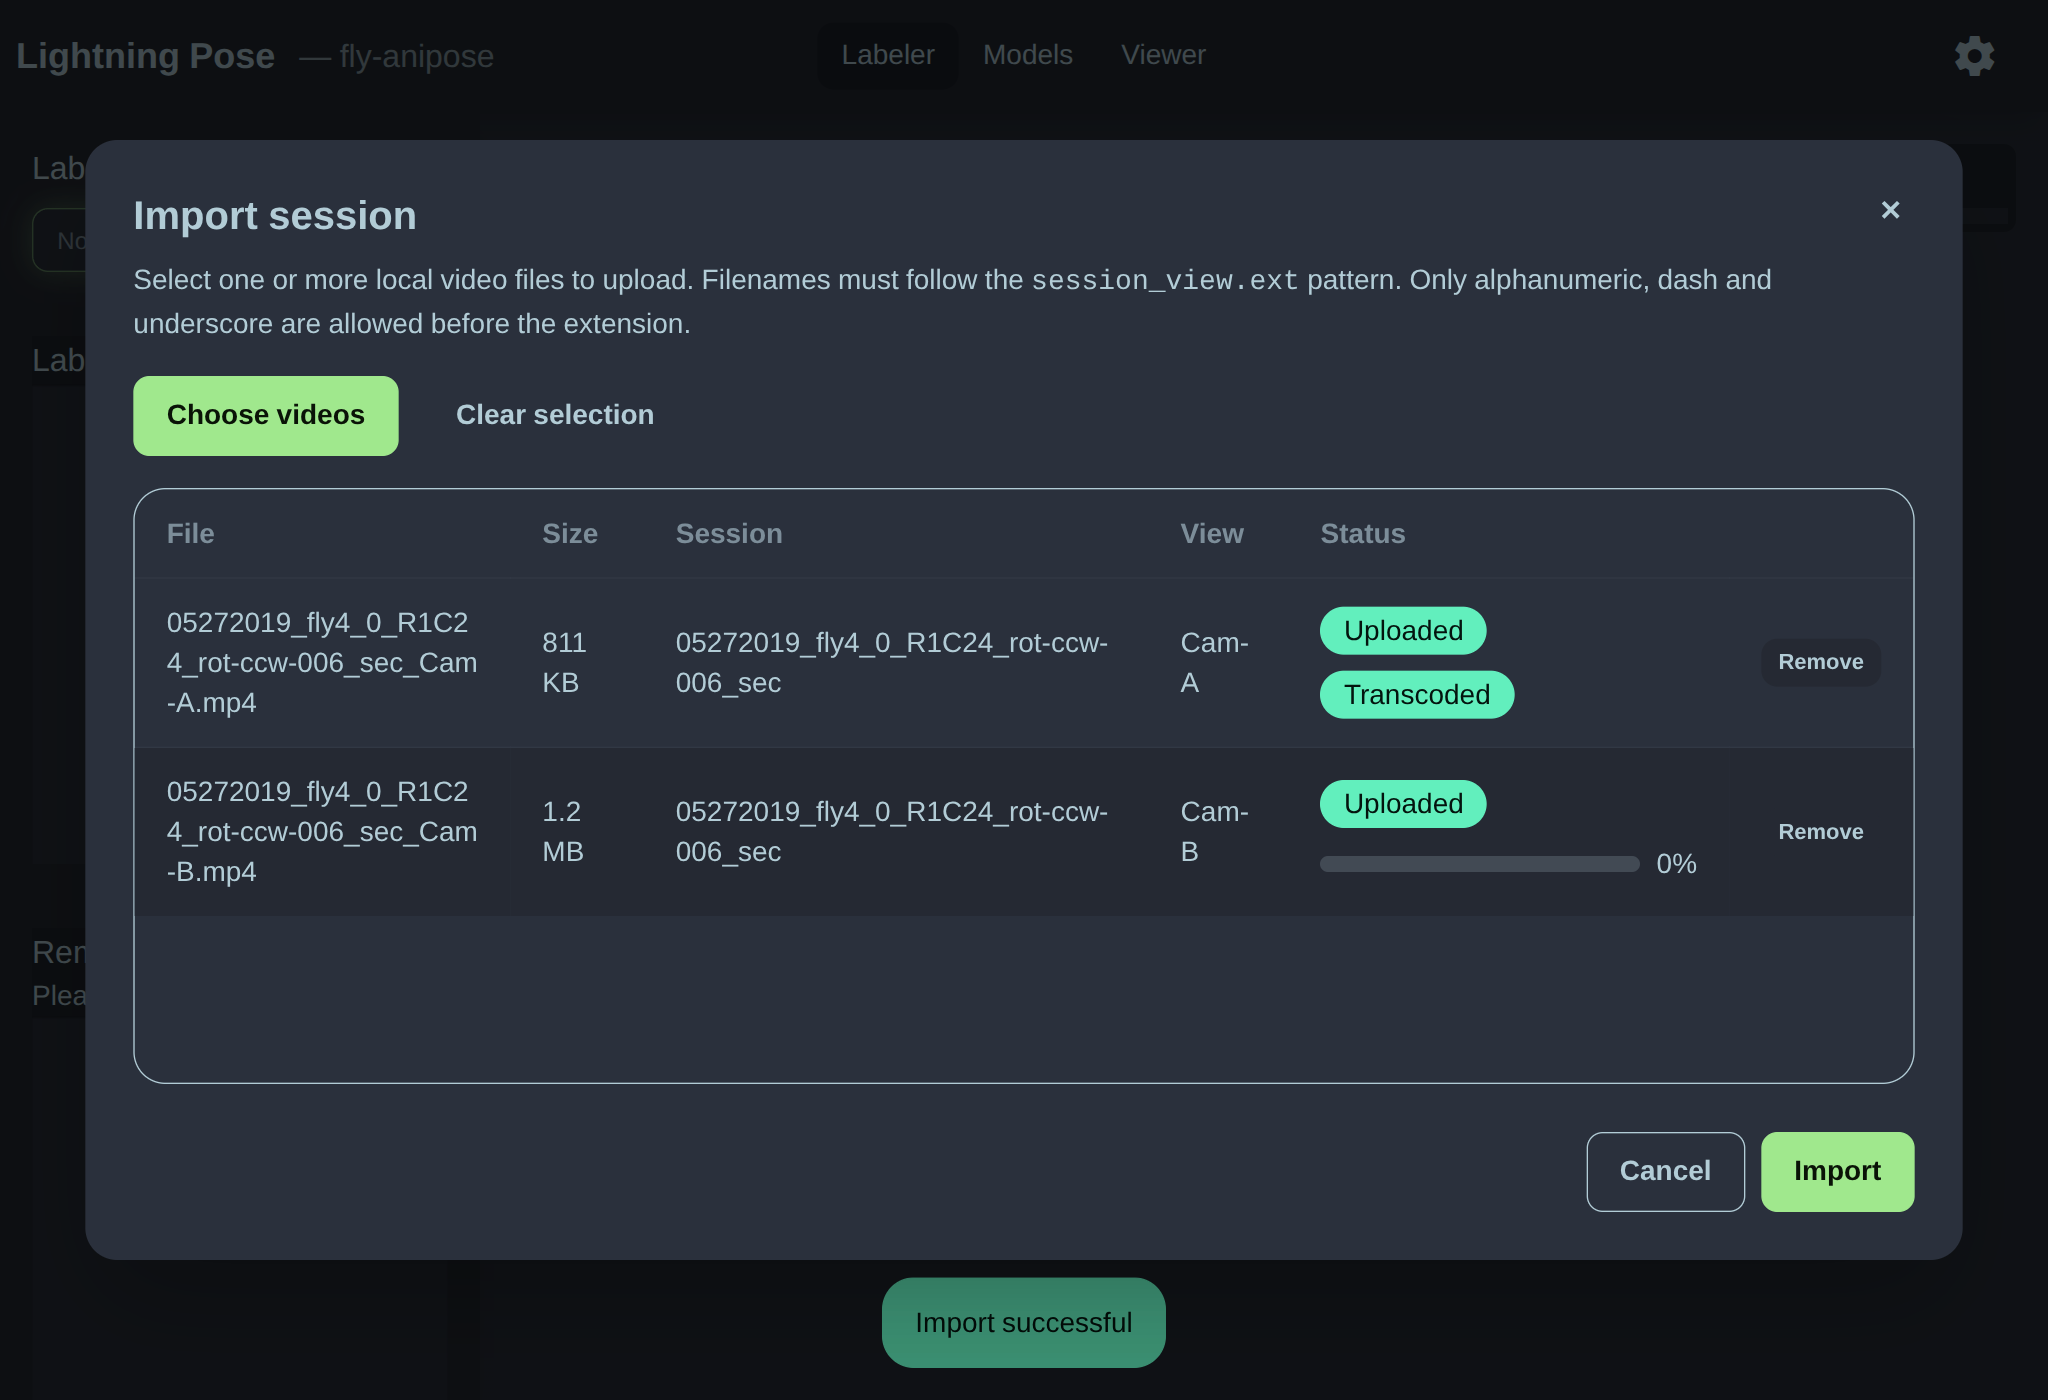
See Naming your video files for important information on video filenames before proceeding.
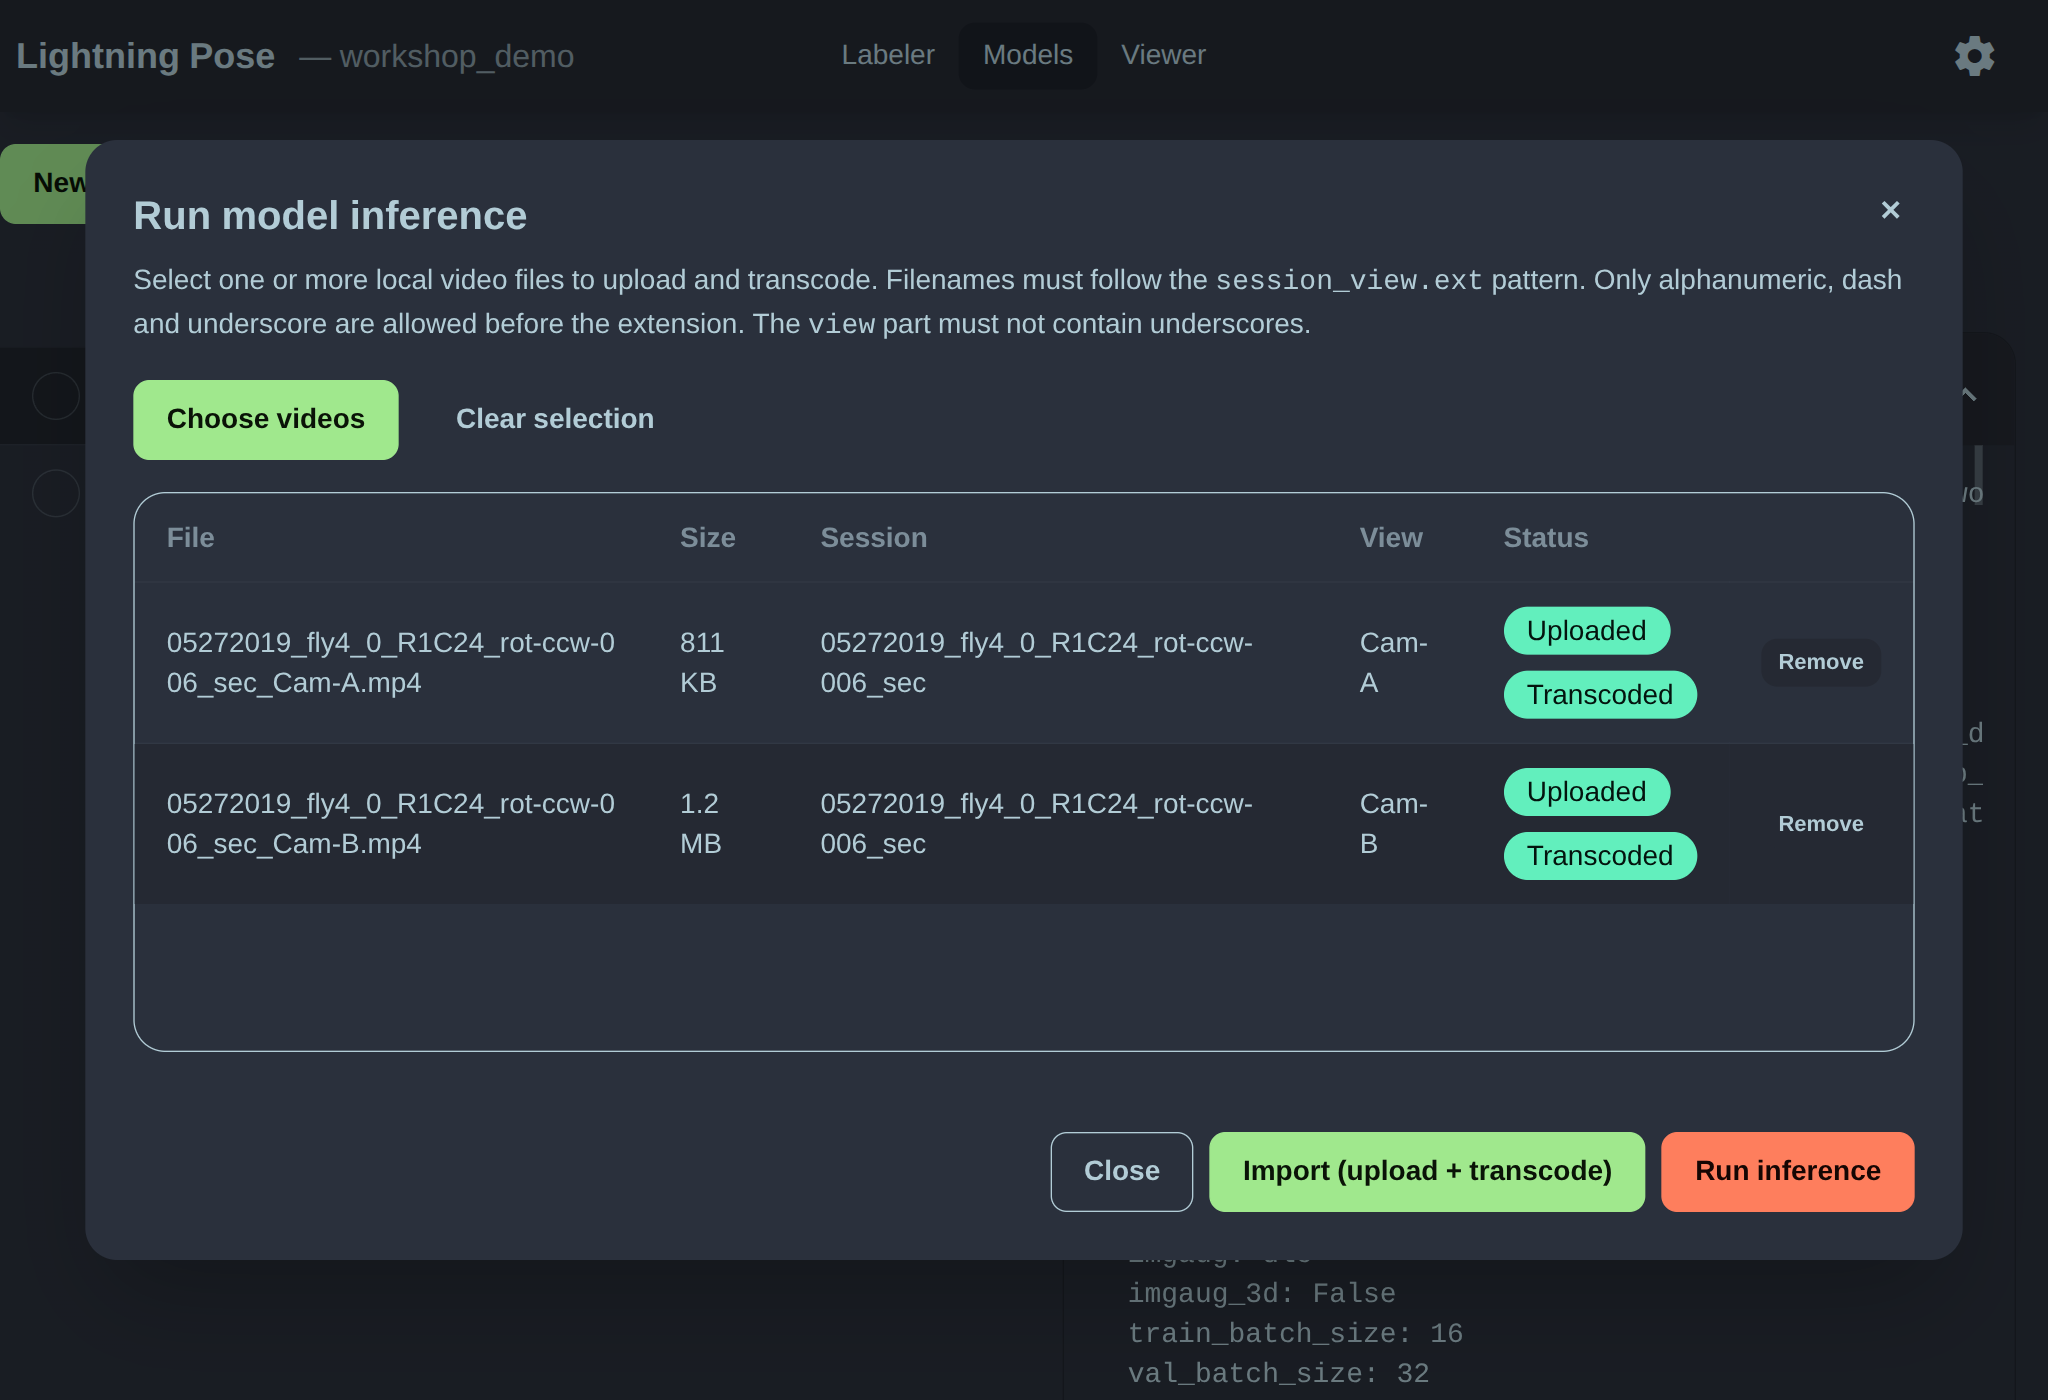
Select videos from your local filesystem and click Import. Videos will upload and be transcoded. Upon completion, the video import dialog will close and you will be able to see and select the newly uploaded session on the left hand side of the session selection screen.
Label frames
Click an unlabeled frame on the left and start labeling. You need to hit save in order to persist the label file.
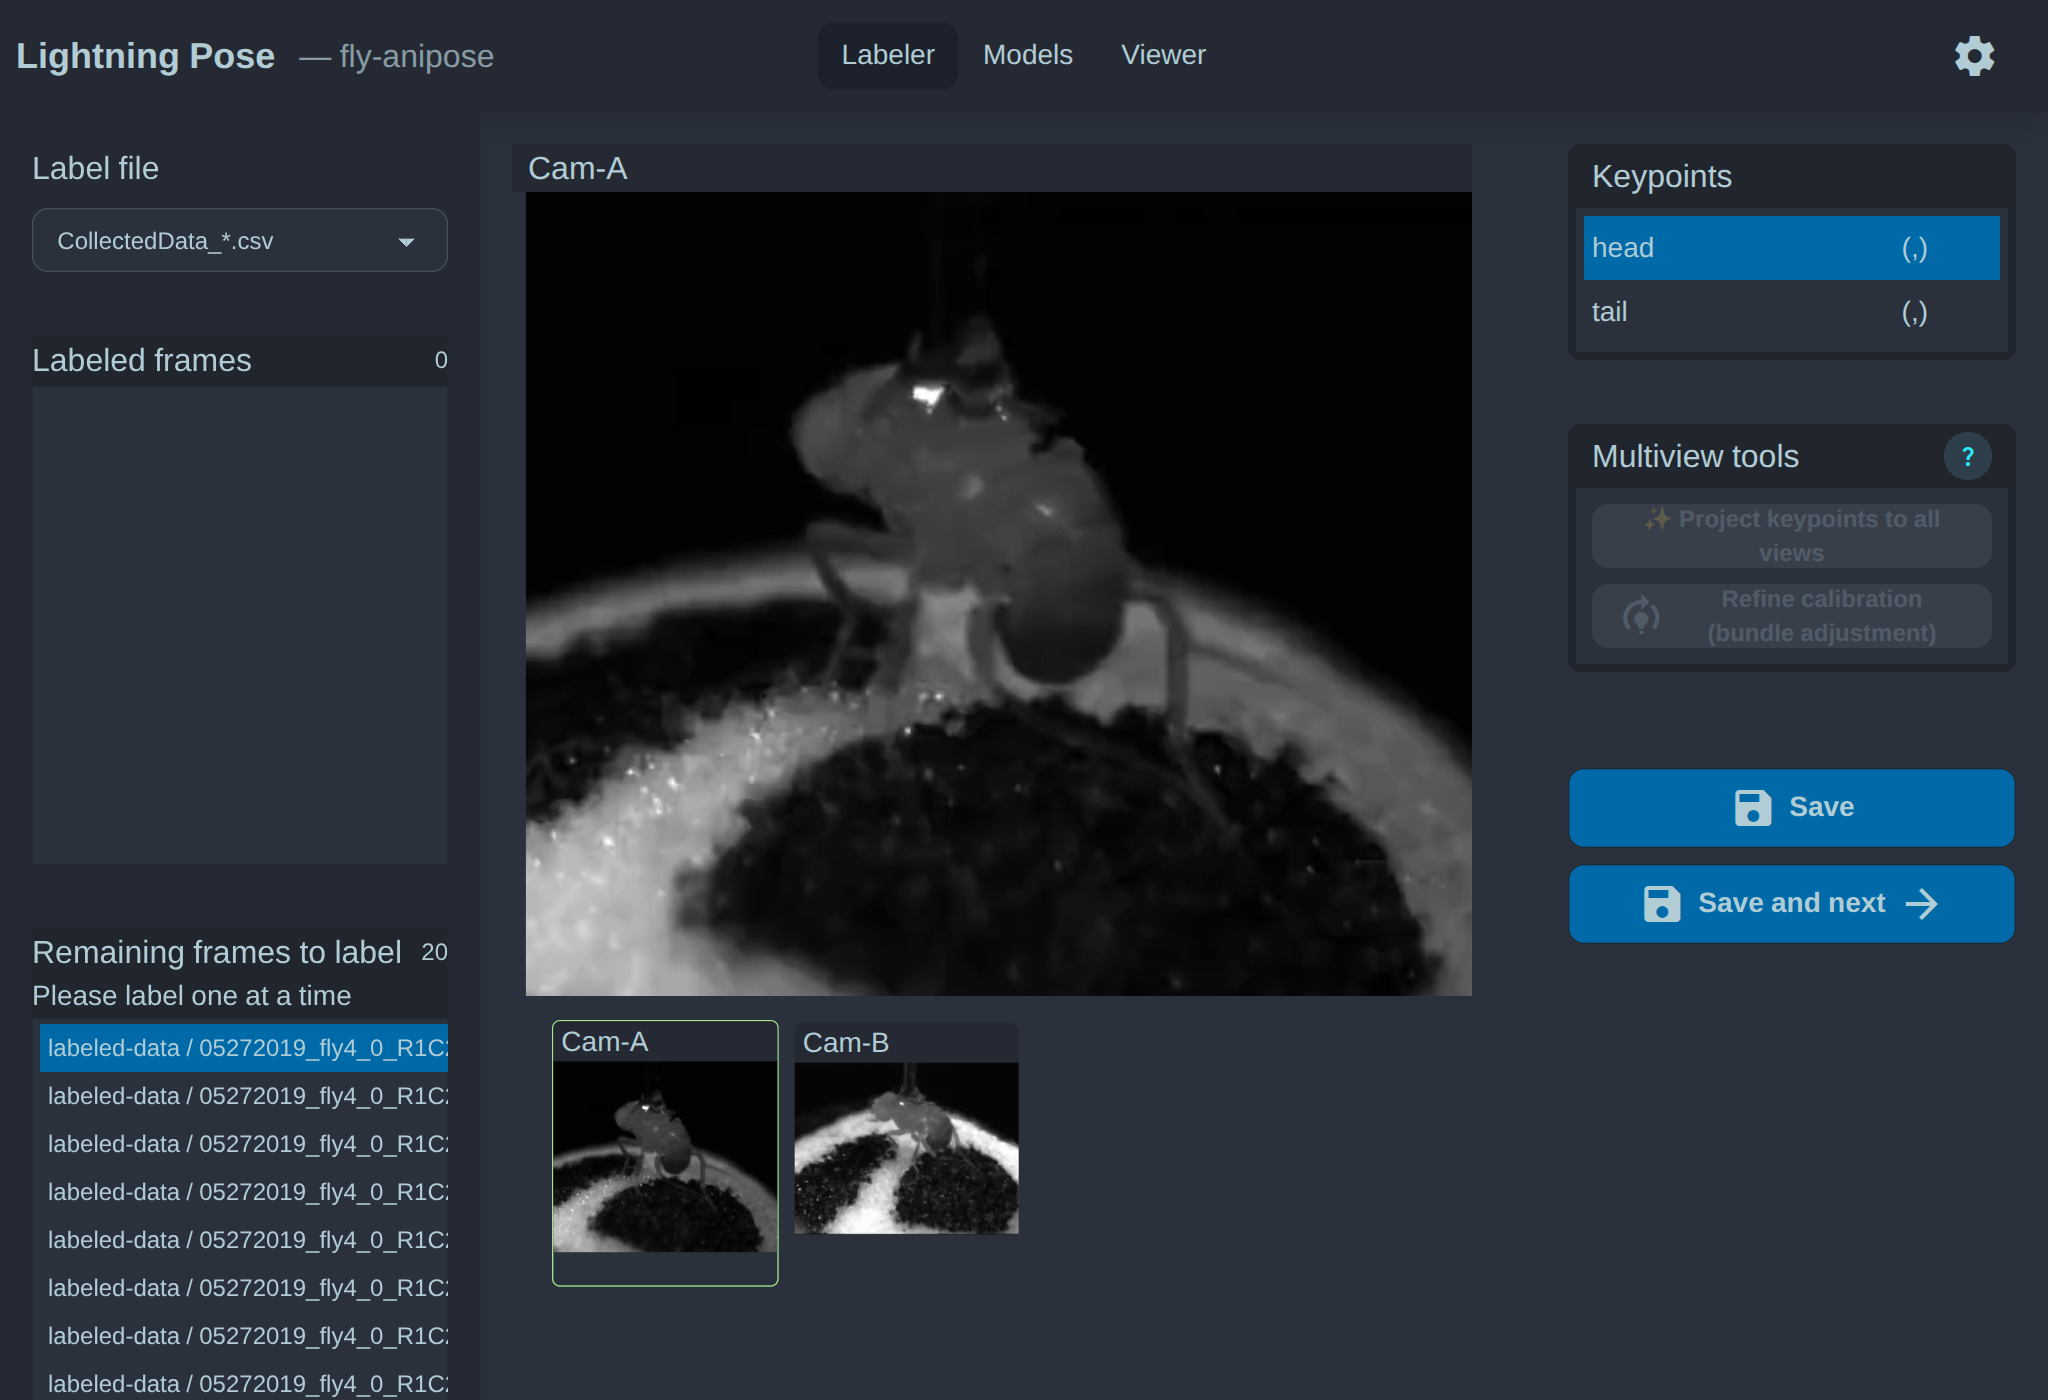
You can zoom into a tile by scrolling. Keypoints can be moved by dragging. To remove a keypoint, find it in the table of keypoints on the right and click the X button.
Explainer: Label files
Lightning Pose searches the data directory for all CSV files in order to populate the label file selection dropdown.
In multiview projects, the term “label file” is a misnomer - it’s actually a set of label files
under the hood, one for each view. For example, CollectedData_*.csv refers to the set of files:
CollectedData_view0.csvCollectedData_view1.csv
You should have just one such set of label files as primary. The primary use-case for having multiple label file sets is backups or versioning. You can copy label files periodically and suffix with the date. For example:
CollectedData_YYYYMMDD_view0.csvCollectedData_YYYYMMDD_view1.csv
Note that the file must ennd in _viewN for multiview projects (single view projects do not have this
suffix).
Multiview features
Lighting pose supports utilizing camera calibration to make multiview labeling easier. Using labels from two views, it can triangulate into 3D space and reproject onto the remaining views. See the in product documentation here for more information.
Create a model
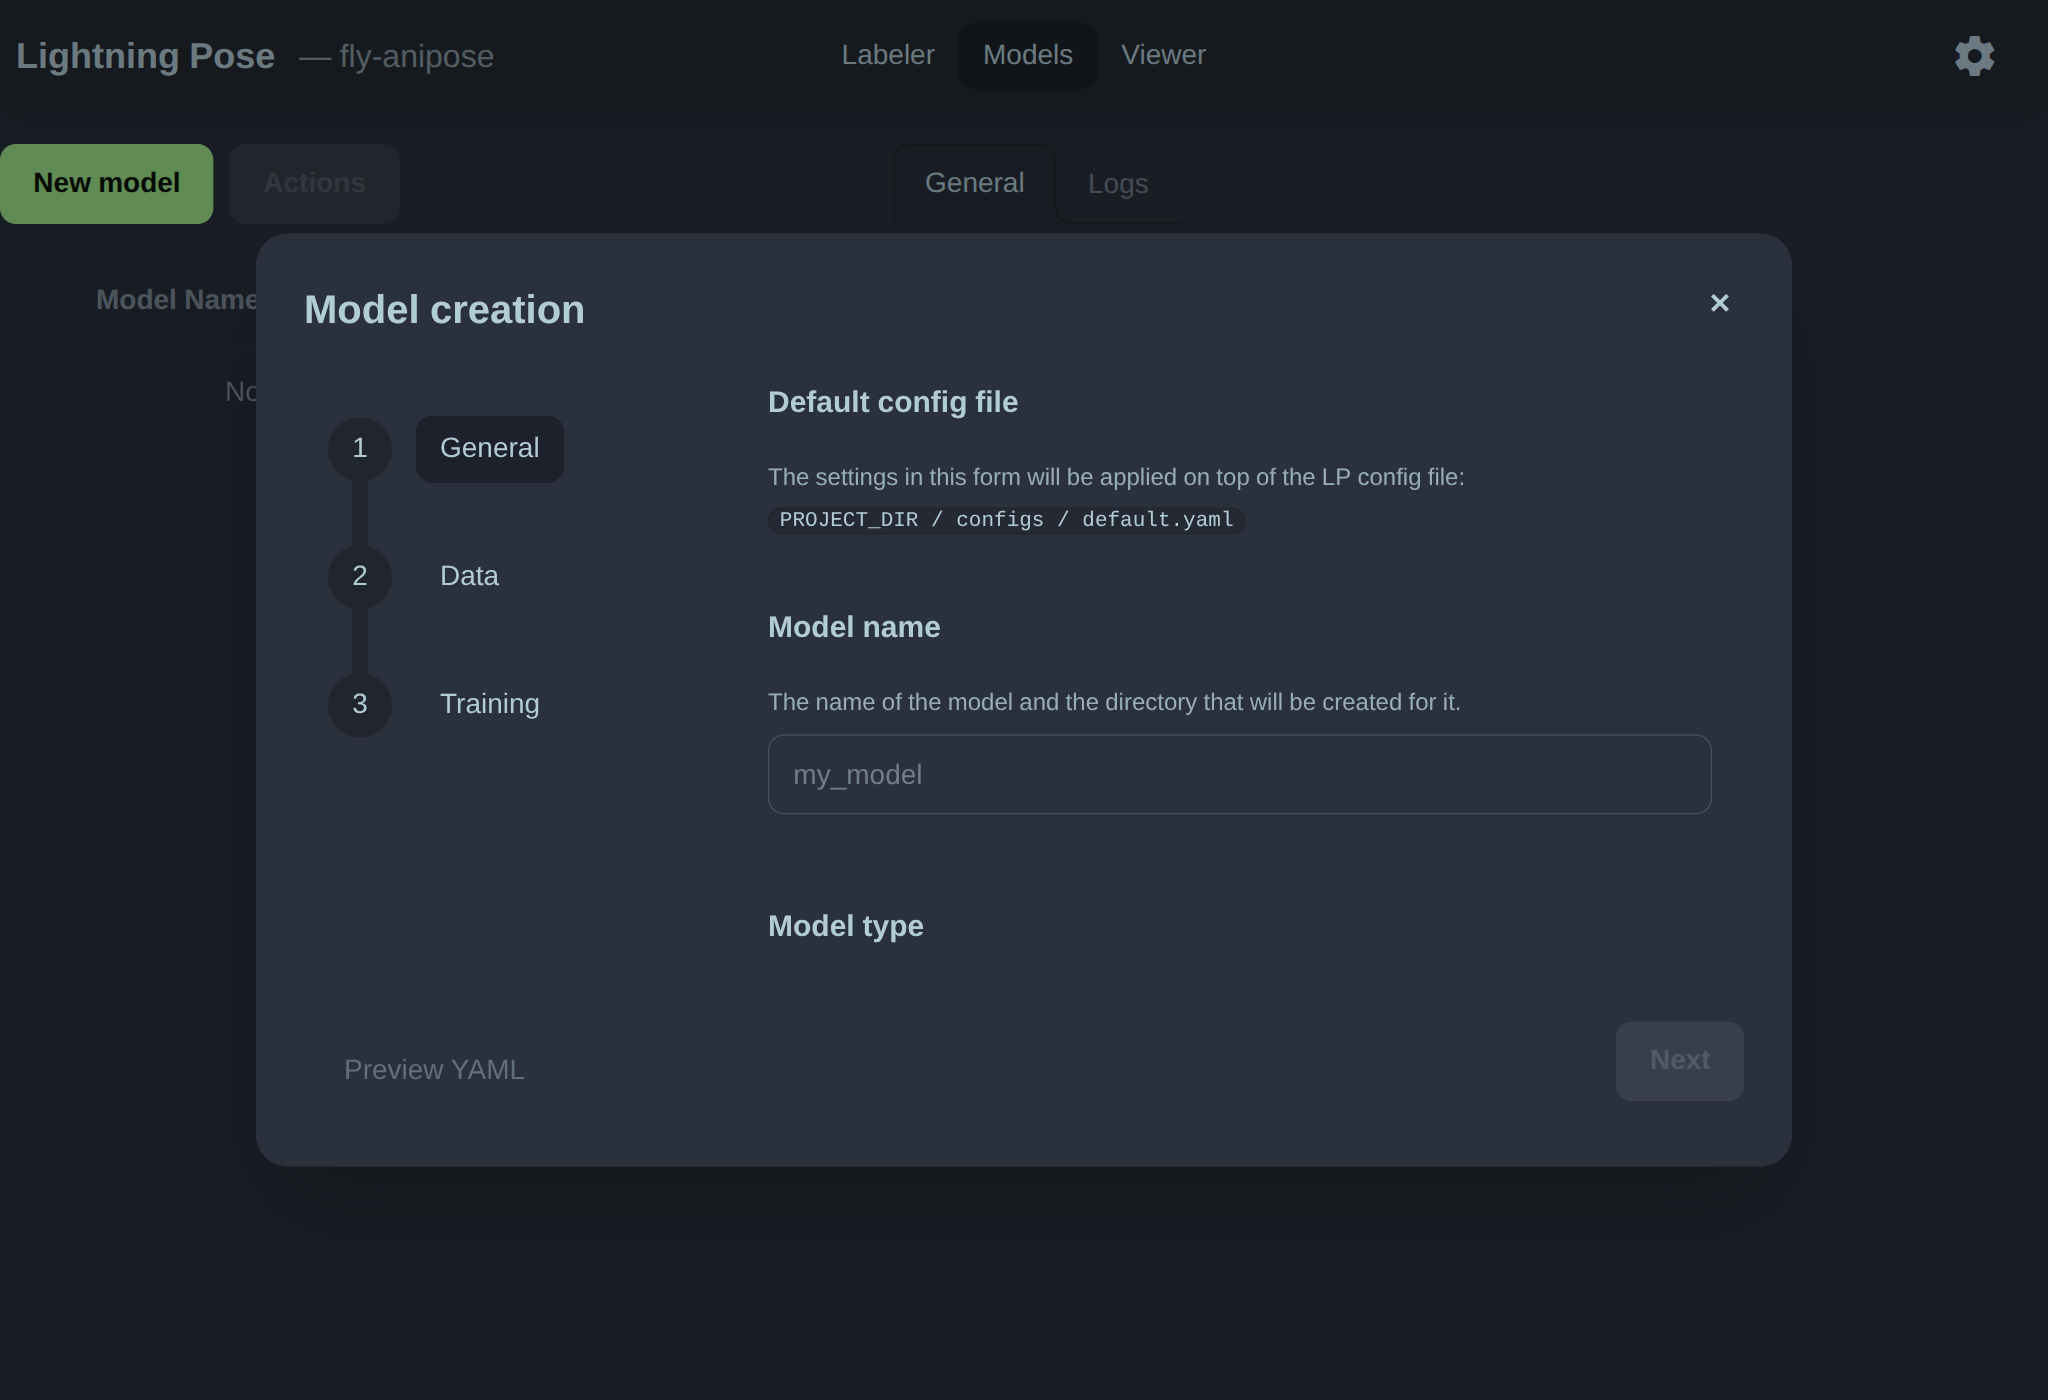
In the Models module, click New Model and follow the instructions to create a model. Training will begin automatically.
Click on a model in the models table to see its details.
Under the hood, the App is using the CLI to train a model. The General tab
shows the raw model configuration file that was used for training.
The Logs tab shows the streaming log output from the litpose train command.
Once training is complete, you can run inference on a model. Select the model in the table, and click the Run inference Action from the Actions button.
Follow the instructions to upload the video for inference.
Again, the App is using the CLI to run inference, which stores predictions inside the model directory. To view the predictions in the App, we need to switch to the Viewer module.
Visualize predictions
Once in the Viewer module, you can select a session from the left hand side, and find its model outputs on the right hand side.
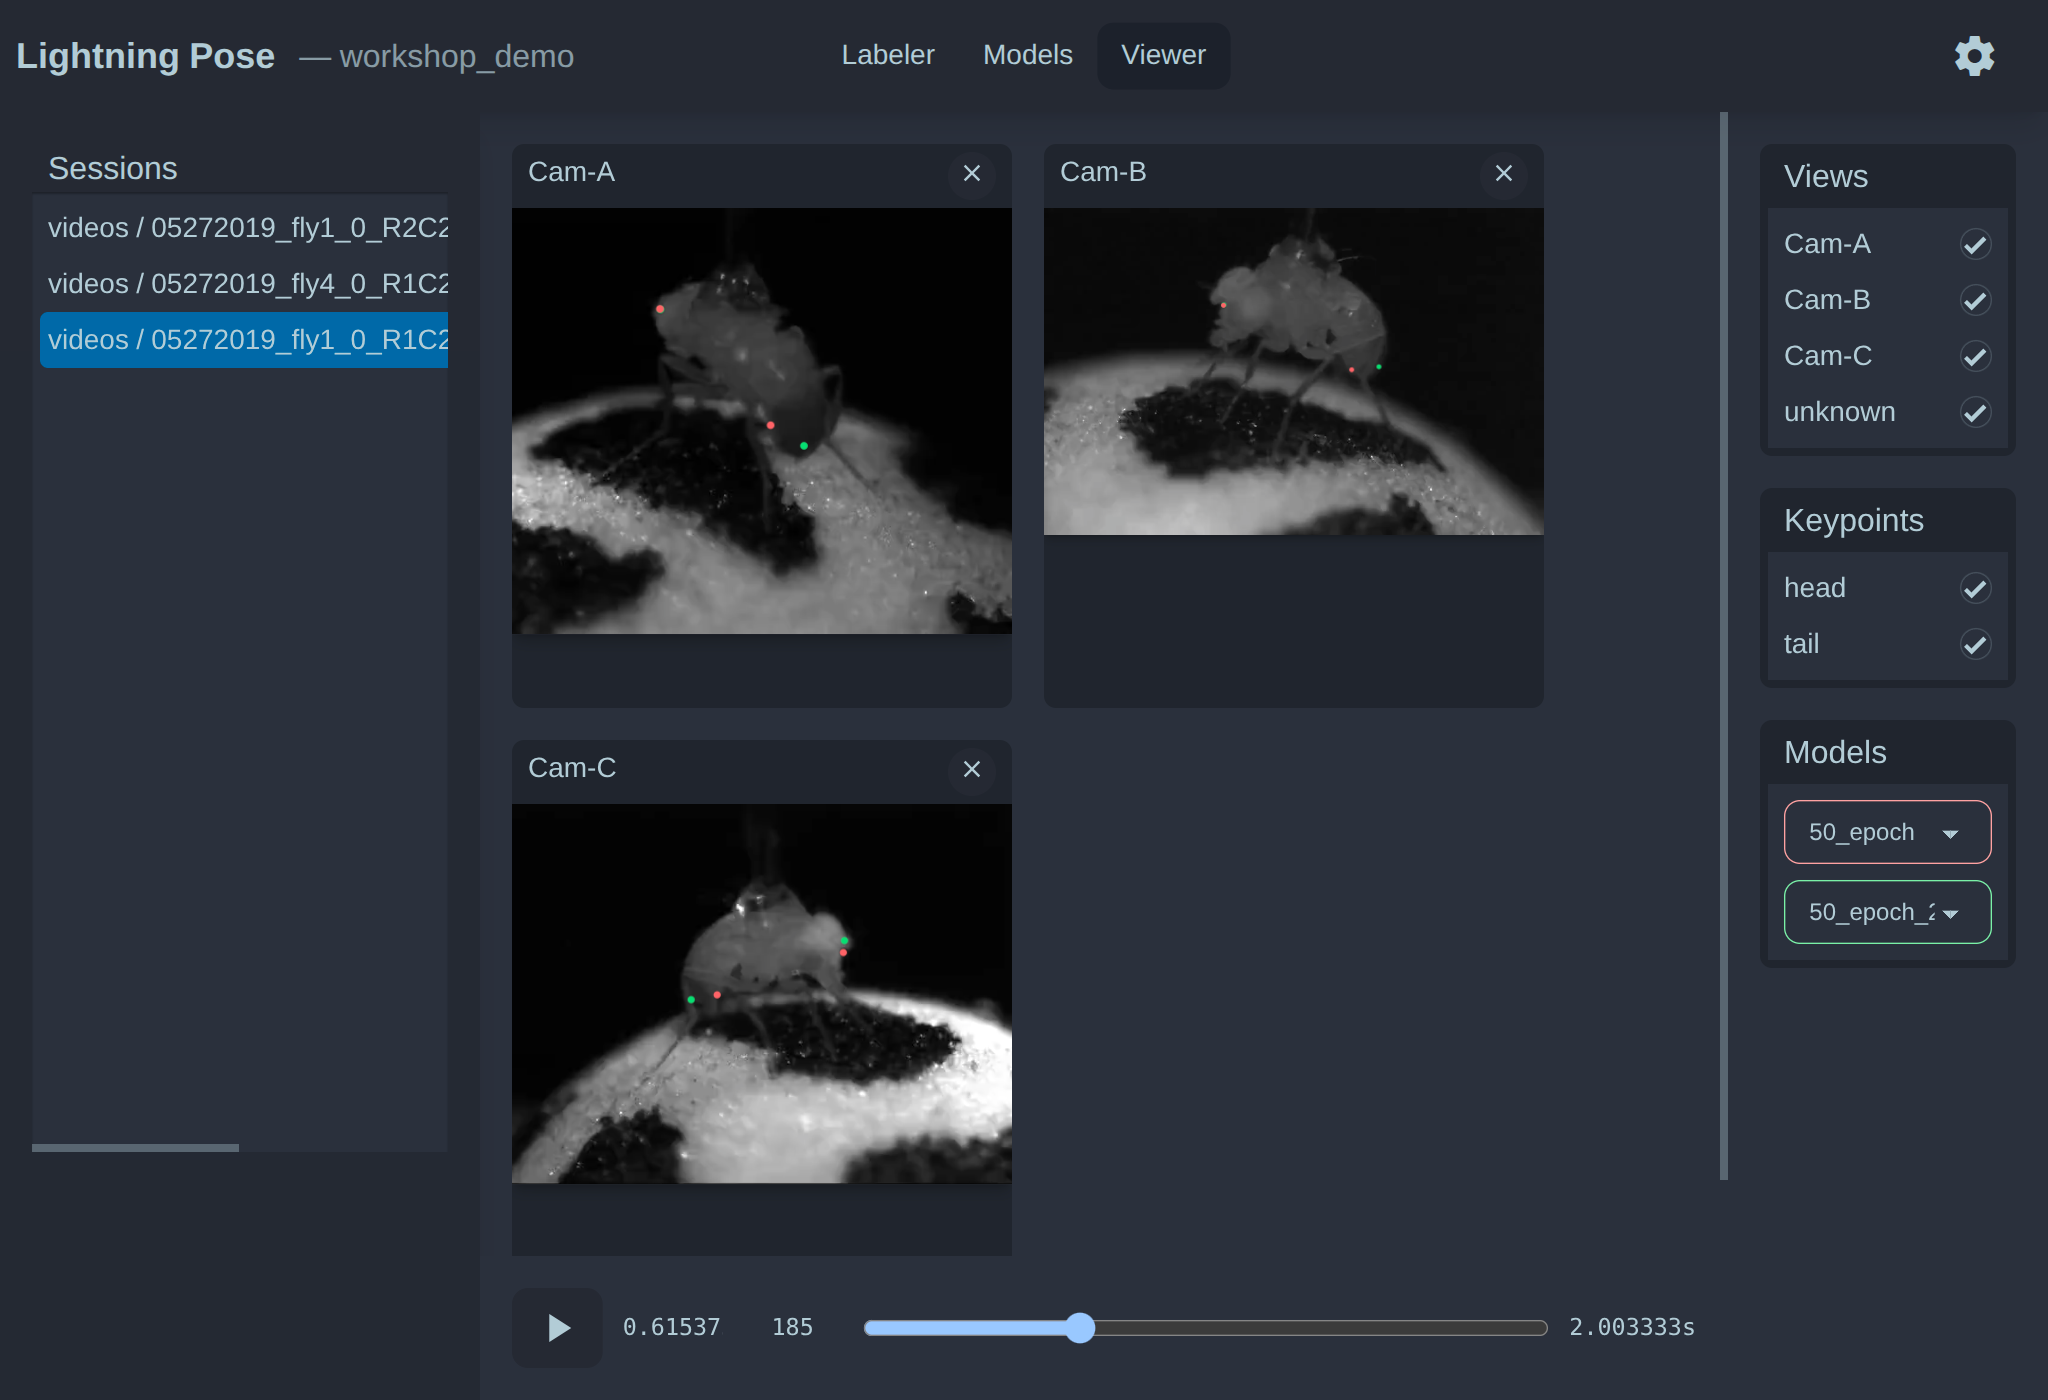
You can zoom into a tile by scrolling. The bottom playback bar displays the time and frame number. When paused and the slider is the active element (click on it once to make it the active element, you’ll see it gets outlined), you can use the left and right arrows keys to move the slider frame by frame.
Next steps
From here, you can:
label more frames (especially in problematic scenarios)
train new models (train for more epochs or different settings)
run inference on more videos
copy the project directory to another machine to run inference or train more models via the CLI
We are working on adding documentation for the above workflows. Stay tuned!